Cerakote Headlight Restoration Kit
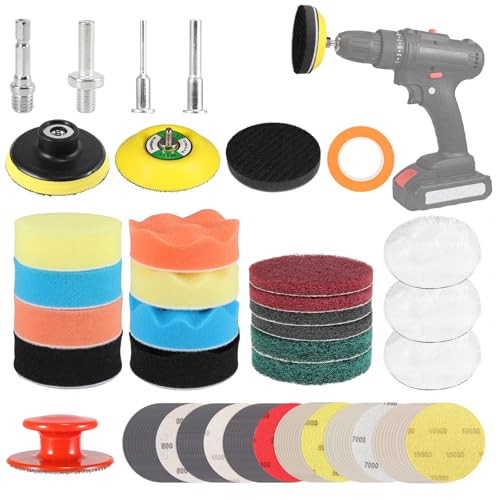
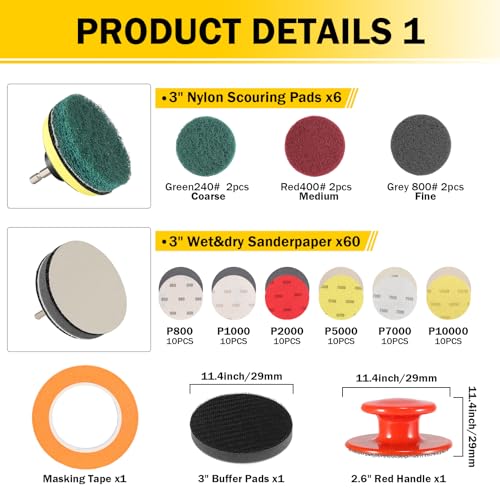
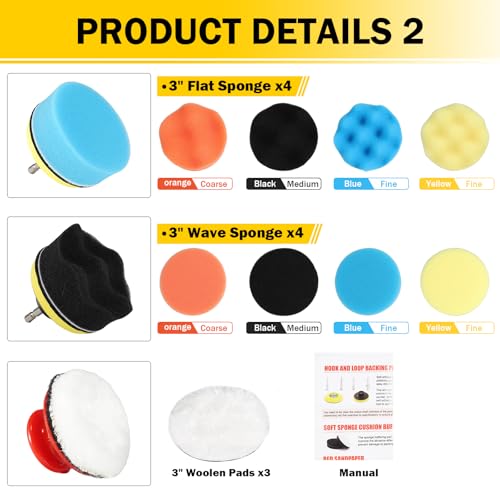
Key Components: - 1/4 inch shank/8/1 shank backing pad (2 sets) - Masking tape (1 roll) - Nylon cleaning discs (6 pieces) - 3-inch wet and dry sandpaper (60 pieces) - Sponge polishing discs (8 pieces) - Long hair polishing pads (3 pieces) - Tool handle (1) - Instruction manual (1)
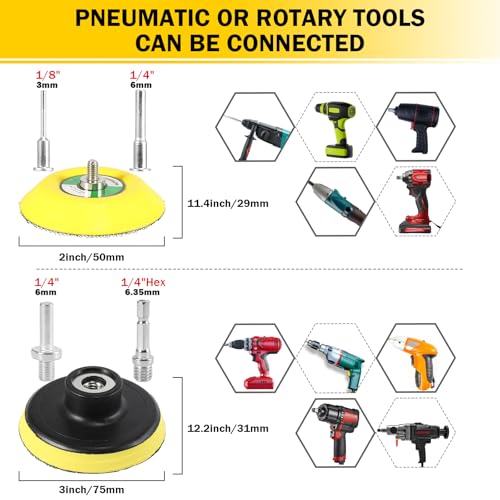
Durable and Safe Solutions: With the 1/4 inch shank/8/1 shank backing pad, you can convert your ordinary household drills, electric grinders, and polishers for professional headlight restoration. Our kit does not contain any chemical liquids, ensuring safety and environmental friendliness.
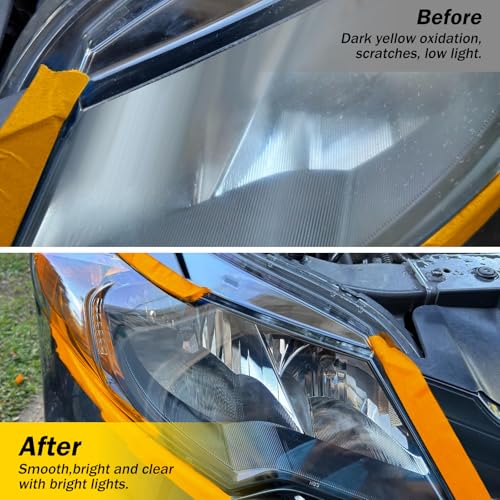
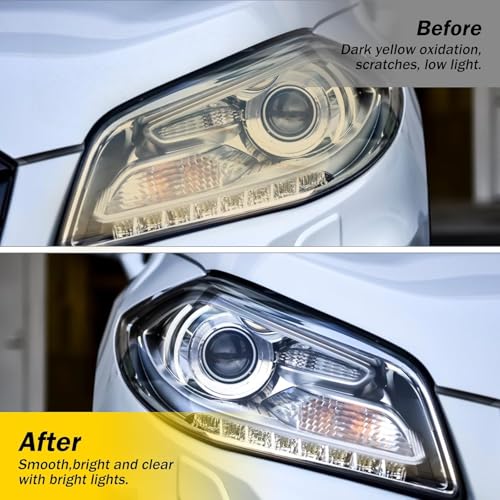
Professional Results: Our high-quality headlight restoration kit allows you to quickly clean dull and fuzzy headlight lenses, effectively restoring their clarity. Only water is required during the operation, making it easy and convenient. This kit is perfect for headlights, taillights, fog lights, and directional lights.
Versatile Sanding Solutions: The kit includes 60 pieces of black sandpaper, suitable for both dry and wet sanding. Dry sanding is ideal for initial, quick removal of obstacles like spurs, rust, and thick coatings. For a fine finish, wet sanding is recommended. It is always advised to rinse the sandpaper and the surface with water during wet sanding to maintain the desired moisture level.
Step-by-Step Guide: 1. Attach the Tool: Attach the tool to the drill or other tool and mark out the area to be worked on with patterned paper. 2. Clean with Gray Scouring Pads: Clean the surface with gray scouring pads to prepare it for further work. 3. Polish with Sandpaper: Use the included sandpaper to polish the surface. 4. Rough Polishing with Wool Buffer Pad: Conduct rough polishing using the wool buffer pad to achieve a smoother surface. 5. Finishing and Waxing with Sponge Pad: Finish with the sponge pad, followed by a thorough waxing for a glossy, finished look. (Refer to the instruction manual for detailed steps)
For more information and support, please consult the included instruction manual.




 New
 New
 New
 New
